
OVERVIEW of the PROCESS


Click on thumbnails for the sequence of larger (uncropped) images and descriptions. Click larger images to advance.
The main steps in the production process are as follows:
Setup: As with non-macro work, the imaging process starts with finding an area of interest to photograph and then setting up the lighting sources, changing the light quality via modifiers and flags, and visually composing the image frame. As macro subjects are much smaller, it is possible to create modifiers (that are much cheaper!) from basic office and kitchen supplies. For example, a small piece of aluminum foil can become a reflector or a plastic drinking straw a snoot (which focuses light into a beam).
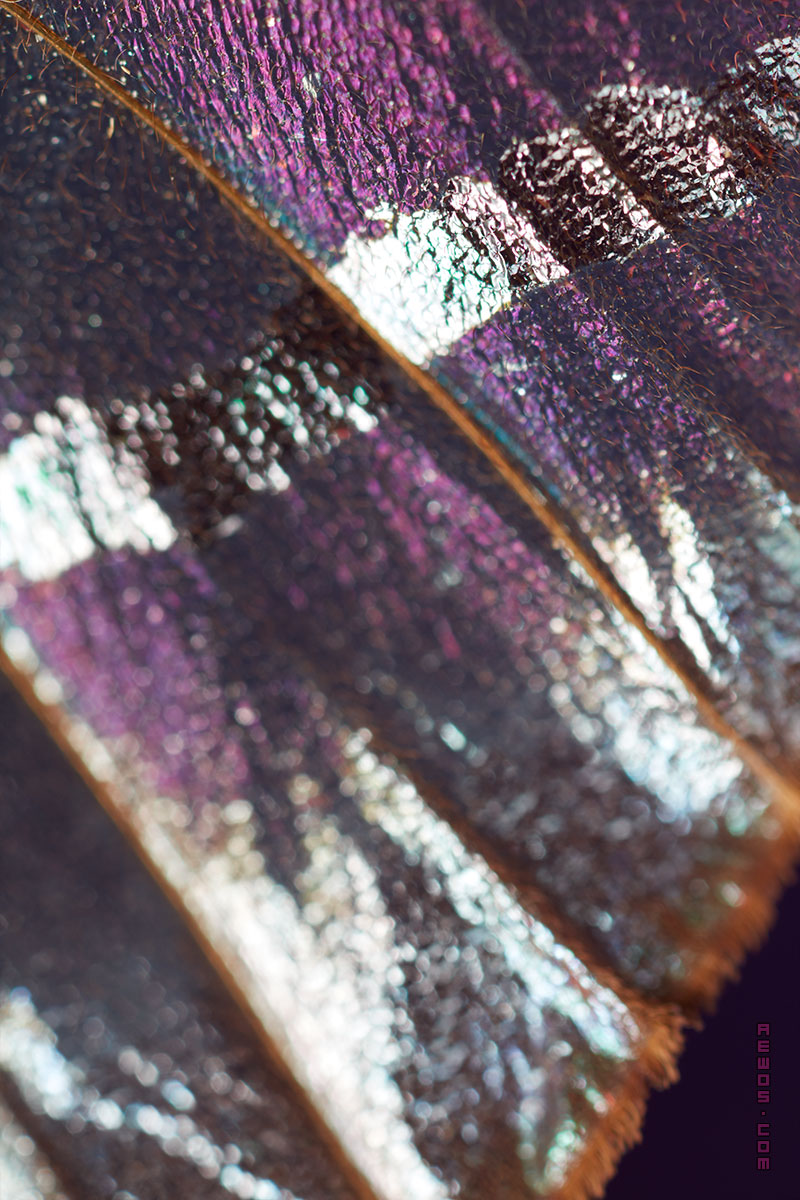
Capture: A common issue in macro work is a limited depth of field, where a single photograph only shows a plane or “slice” of a subject in focus. Focus stacking is a technique used to counter this. A photograph is taken for each in-focus “slice” from the front of the subject to the rear. This can be accomplished by attaching the camera to an automated focusing rail. The rail moves the camera in small increments, firing the shutter to capture each image in the sequence. The stack can be as shallow as 10 pictures for a flatter object or number in the hundreds for something deeper. To give you an idea of scale, the distance between steps might be set to 35-40 microns for an image like the purple one above (1 micron=.001 mm. The average diameter of a human hair is probably in the neighborhood of 70 microns).
Processing 1: The first processing step is to use a RAW editing program to make overall (global) adjustments to all images in the sequence. This can include exposure and curves adjustments, increasing sharpness levels, etc. Making adjustments to specific portions of an image (local adjustments) follows, but if these are too cumbersome they can be taken care of during final edits. All files are exported.
Processing 2: The exported files are opened in the stacking software. This software combines the images in the stack so that the “slices” are visible at the same time and the subject is now completely in focus (or as in focus as you want it to be). The software aligns all the images to one another and lets you choose the stacking method and settings based on the type of surface you are working with. A retouching tool is available to combine stacks assembled with different settings or methods. The stacked result is outputted as a single file.
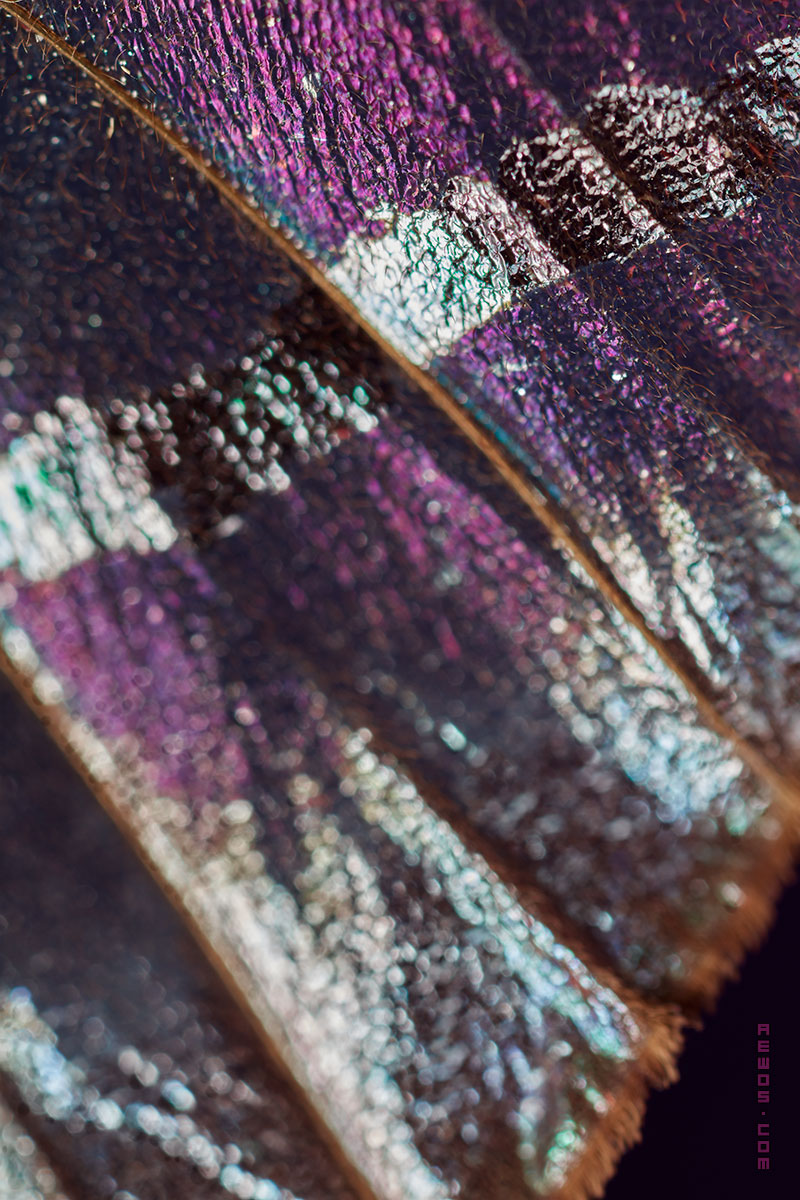
Processing 3: Final edits are completed in an imaging program. These can include debris cleanup, repairing or masking out stacking noise or other issues, using masks to combine stacks processed with different RAW settings, dodging and burning, etc. To give you an example, two stacks were captured for the purple image above (of a pink glasswing butterfly)–one was exposed for the wing detail and one for the highlight detail. These stacks were combined (composited). You can see the effect in the zoomed-in view of the images. With the primary lighting, the surface detail on the wing is visible but there is data loss in the highlights, resulting in the solid white (clipped) patches. This information was recovered by capturing the second stack at a lower light level.
FURTHER INFO
If you are interested in learning more about this type of photography, Photomacrography.net has some excellent info in its forums. The following websites also discuss a few of the topics above in more detail:
1. Ingles-Nobel, J. J. (2018, July 17). Focus stacking. Retrieved from Extreme-macro.co.uk.
2. Focus stacking steps. (2011, September 11). Retrieved from Photomacrography.net.
3. Zerene Systems LLC. How To Use Zerene Stacker. Retrieved from Zerene.
Copyright © by Aaron-Emile W. Osborn, all rights reserved.